Changing the plant pot is an essential task for any plant lover. Whether you want to give your plant a fresh new look or ensure its growth by providing a larger space, repotting is a necessary step. In this step-by-step tutorial, we will guide you through the process of changing the plant pot. Follow these instructions to give your plants the care they deserve. For more information, read our other articles, including List of good books to give as gifts and What do different colors mean in gift giving?.
Step 1: Gather the necessary materials
Before you begin repotting your plant, gather all the required materials. Here’s what you’ll need:
- New plant pot (bigger than the current one)
- Potting soil
- Watering can
- Gardening gloves
- Trowel or small shovel
- Pruning shears (if needed)
Make sure to choose a new pot that is larger than the current one to allow your plant’s roots to spread and grow.
Step 2: Prepare the new pot
First, ensure that the new pot is clean and free from any debris. It’s crucial to provide a clean environment for your plant to thrive. Additionally, check if the new pot has drainage holes at the bottom. Proper drainage is essential to prevent waterlogging, which can lead to root rot.
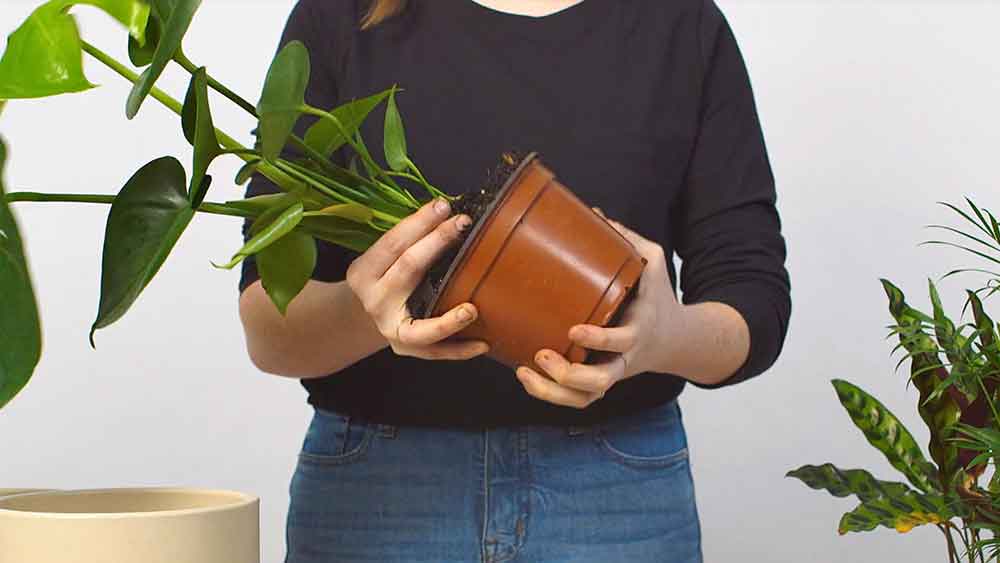
Step 3: Prepare the plant
Carefully remove the plant from its current pot. Gently hold the base of the plant and turn the pot upside down, supporting the plant with your other hand. Tap the bottom of the pot or gently squeeze the sides to loosen the soil. Once loosened, carefully lift the plant out of the pot. Be cautious not to damage the roots or stems.
If the plant has become root-bound, meaning the roots have filled the pot and become tangled, you may need to loosen the roots slightly. Use your fingers or a small tool like a trowel to loosen the roots around the edges.
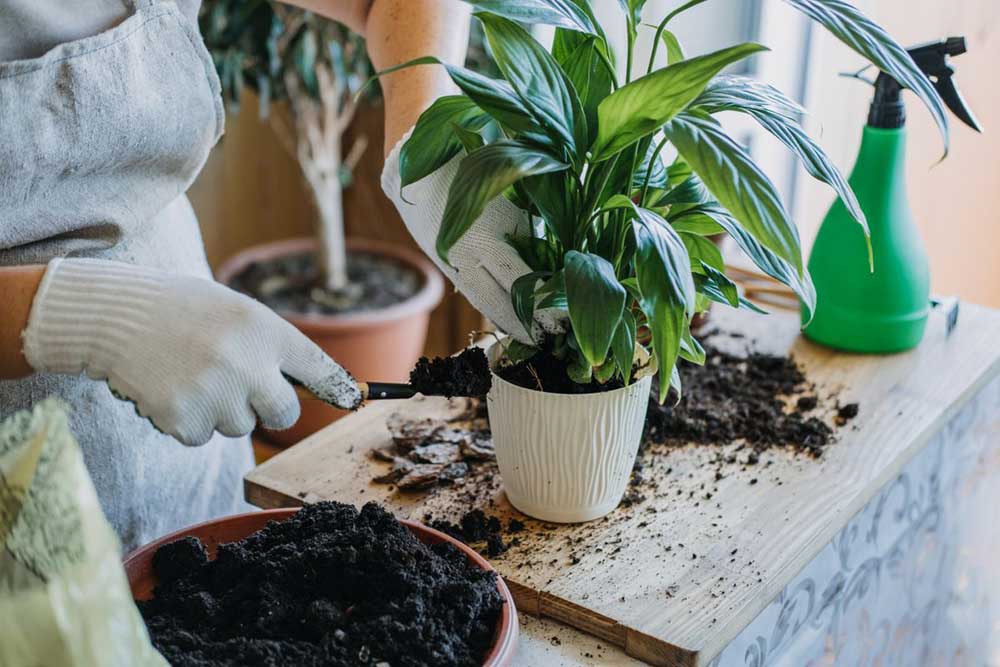
Step 4: Add soil to the new pot
Fill the new pot with fresh potting soil, leaving enough space at the top to accommodate the plant’s root ball. The potting soil should be appropriate for the type of plant you are repotting. Consult the plant’s care instructions or a gardening expert for specific soil recommendations.
Step 5: Repot the plant
Place the plant into the new pot, ensuring it sits at the same depth as it did in the previous pot. Adjust the soil underneath the plant if needed. Add more potting soil around the sides, gently pressing it down to eliminate any air pockets. Take care not to bury the stem or leaves of the plant too deeply.
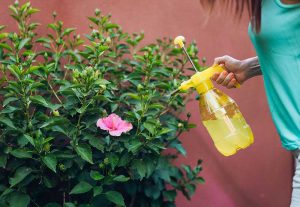
Step 6: Water and settle the plant
After repotting, give your plant a thorough watering. This helps settle the soil and ensures good root-to-soil contact. Water until you see water draining out of the bottom of the pot, indicating that the soil is adequately moist.
Step 7: Clean up and care
Clean up any spilled soil and place your newly repotted plant in an appropriate location based on its light and temperature requirements. Monitor the plant closely in the following weeks to ensure it adjusts well to the new pot. Continue regular watering and provide appropriate sunlight or shade as needed.
shahrekado
Shahrekado store is next to you, dear ones, to surprise your lover even from a distance. Experience sending flowers to Iran and sending flowers to Europe with us. ShahreKado, while cooperating with the best flower shops, has prepared a wide variety of products for your order to send flowers to Tehran, send flowers to Shiraz, send flowers to Isfahan or other cities in Iran, which can only be done by visiting the ShahreKado website and choosing.
Conclusion
Repotting your plants is a vital aspect of plant care. By following this step-by-step tutorial, you can change the plant pot effectively and provide your plant with the space it needs to thrive. Remember to choose a larger pot, use the right potting soil, and handle the plant with care during the repotting process. With proper repotting, your plants will flourish and add beauty to your home or garden. Read Suitable Flowers for Different Months and Important Tips for Buying Gifts article for more information. Thank you for staying with us until the end of this article.